Your First 30 Days in Australia: What to Do After You Arrive
Get a Free Moving Quote Now!
Start Your International Moving Journey
Landing in Australia brings excitement—and a long to-do list. The first 30 days in Australia can feel overwhelming if you don’t know what to prioritize. But with the right plan, this period becomes less stressful and more rewarding. International movers have made the transition easier for thousands by handling logistics before arrival. Now it’s your turn to settle in. From sorting banking and healthcare to setting up a phone and transport, every detail you handle now helps you feel at home faster. This guide breaks down the real-life actions you need to take to get everything in order.
How Do You Apply For a Tax File Number in Australia?
You’ll need a Tax File Number (TFN) to legally work and get paid in Australia. The process of moving to Australia doesn’t end once you arrive—getting your TFN should be among the first things you handle. You can apply for it online via the Australian Taxation Office (ATO) website, but you must already be physically in the country. The application is free and takes about 20 minutes. Once submitted, your TFN will arrive by mail within 10 to 28 days.
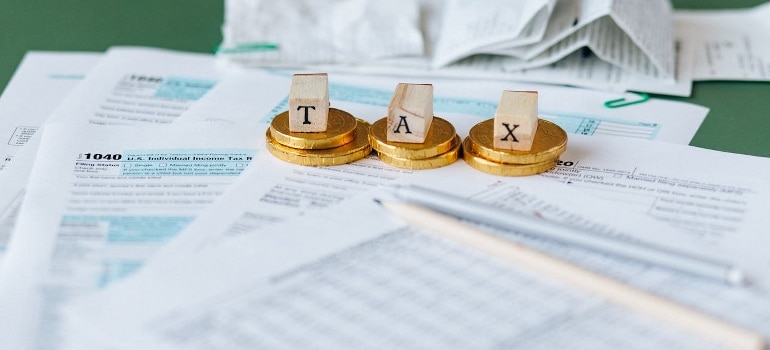
You’ll need your passport, visa details, and Australian address to complete the form. You can start working without it temporarily, but your employer will withhold taxes at the highest rate until you provide it. Without a TFN, accessing financial services, filing taxes, and claiming superannuation becomes more difficult and expensive in the long run.
Steps to Apply for a TFN Successfully
Getting a TFN early prevents over-taxation and delays with employment or superannuation.
- Wait until you’re physically in Australia.
- Go to the Australian Taxation Office (ATO) website.
- Choose the option “Apply for a TFN – Individuals.”
- Fill in your personal info (passport, visa, address).
- Submit the application—no fee required.
- Wait 10–28 days for your TFN by post.
- Provide your TFN to your employer and bank as soon as it arrives.
Why Should You Set Up a Local Bank Account Immediately?
Handling money from overseas can quickly become a headache without a local account. Most companies that do packing services for overseas shipping suggest having your address and ID sorted so you can open one soon after arrival. Major Australian banks include Commonwealth Bank, NAB, ANZ, and Westpac. Newcomers can usually open an account online before they arrive and activate it with a passport and visa upon landing.
If you haven’t done that yet, walk into a branch with your passport, visa grant letter, and proof of Australian address like a lease or hotel bill. Expect to pay a $4 to $6 monthly account fee unless you’re a student or qualify for a waiver. A local bank card makes paying for public transport, groceries, and rent much smoother, especially since some services don’t accept international cards.
How to Open an Australian Bank Account Step by Step
You’ll need local banking for daily purchases, rent, and getting paid. Do this within the first week.
- Pick a major bank: Commonwealth, ANZ, NAB, or Westpac.
- Visit a nearby branch or begin the process online.
- Bring your passport, visa grant letter, and proof of address.
- Choose between everyday accounts and savings accounts.
- Ask about student or newcomer account fee waivers.
- Receive your debit card (on the spot or by mail).
- Register for online banking and mobile app access.
What’s the Best Way to Get a Phone Number in Australia?
Without a local number, you’ll miss calls from agents, employers, and doctors. International household goods movers know that setting up a SIM card is key to a smooth first week. You’ll find mobile stores in every major airport and shopping centre. Telstra offers the widest coverage, while Optus and Vodafone usually have better deals in cities.
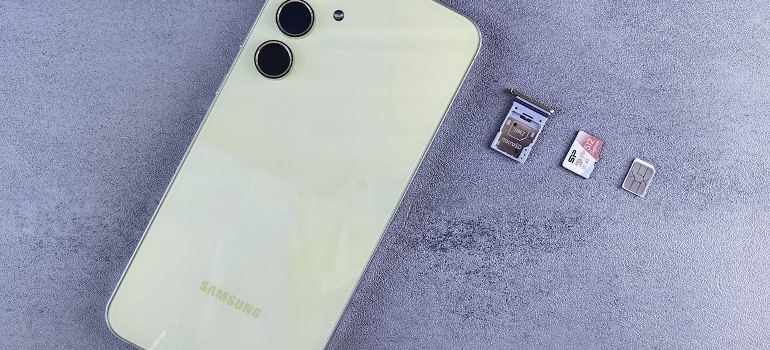
Prepaid SIMs start at $10 for basic data plans. Postpaid contracts offer more data but require proof of ID and address, which some newcomers don’t have immediately. Bring your passport and visa when purchasing a SIM, as it’s mandatory for ID verification. Download the provider’s app for recharges, usage tracking, and international calling. Avoid roaming on a foreign number—it’s costly and unreliable in rural areas.
Quick Steps to Set Up Your Mobile Phone
Without a local number, you’ll be cut off from job leads, agents, and health services.
- Choose a carrier: Telstra (best coverage), Optus, or Vodafone.
- Decide between prepaid (flexible) or postpaid (contract-based).
- Visit a mobile store or electronics chain (e.g., JB Hi-Fi).
- Bring your passport and visa for ID verification.
- Choose a SIM card and plan based on your data needs.
- Insert the SIM and activate via app or store staff.
- Download the provider app to monitor usage and recharge.
How Do You Register for Medicare and What Does It Cover?
Healthcare in Australia is excellent, but you’ll need to register for Medicare to access it affordably. If you’re a permanent resident, Australian citizen, or from a country with a reciprocal healthcare agreement (like the UK or New Zealand), you likely qualify. To apply, visit a Medicare office with your passport, visa, and proof of address. It takes about 10 minutes, and you’ll get a temporary card while your official one arrives by mail within three weeks.
Medicare covers GP visits, public hospital care, and some specialist services. However, it doesn’t cover dental, ambulance, or most physiotherapy. Many newcomers take out private health insurance during their first 30 days in Australia to fill those gaps and avoid the Medicare Levy Surcharge. For a more comprehensive guide on navigating health insurance, coverage, and care options as an expat, check out Aussie Health and Wellness – Mastering Insurance and Care for Expats.
Registering for Medicare in Your First Week
If you’re eligible, Medicare gives you access to free or low-cost health services.
- Check your visa type for Medicare eligibility.
- Visit a Services Australia (Medicare) office in person.
- Bring your passport, visa, and proof of Australian address.
- Fill out the Medicare enrolment form on-site.
- Receive a temporary paper certificate.
- Wait up to 3 weeks for your plastic Medicare card.
- Use it at bulk-billing clinics, hospitals, and pharmacies.
Where Can You Find Temporary Housing After Landing?
Renting in Australia is competitive, especially in Sydney, Melbourne, and Brisbane. International moving cost planning often doesn’t account for temporary accommodation while house-hunting. Platforms like Realestate.com.au and Domain list both short-term and long-term rentals. Airbnb, Stayz, and hostels fill the gap if you haven’t secured a place yet. Expect to pay $500 to $800 per week in major cities for a one-bedroom short-term rental.

Agents typically require 100 points of ID, rental history, and proof of income for long-term leases. Some may insist on in-person viewings. Be ready to attend multiple inspections—rental properties can receive dozens of applications. Having documents ready and offering to pay more upfront increases your chances. While hotels are convenient, they’re not cost-effective beyond the first few days.
Housing Setup Steps for New Arrivals
You’ll need a temporary shelter fast, then start house hunting for a long-term lease.
- Book short-term accommodation via Airbnb or Stayz.
- Register on Realestate.com.au or Domain for rentals.
- Prepare ID: passport, visa, proof of income, and rental history.
- Schedule inspections (in-person or virtual, where possible).
- Attend multiple viewings and submit early applications.
- Offer extra weeks’ rent to improve approval odds.
- Sign lease, pay bond (4–6 weeks’ rent), and move in.
What Should You Know About Enrolling Kids in School?
If you have children, getting them into school in your first 30 days in Australia matters. Container shipping companies often recommend organizing school zones before sending your goods. Public schools assign placements based on your address. Once you have a lease, you can enroll by visiting the local school’s website or calling the office directly. You’ll need your child’s passport, birth certificate, immunization record, and visa details.
In New South Wales, Victoria, and Queensland, public education is free, though you’ll still pay voluntary fees around $100 to $300 per year plus uniforms and supplies. Private schools charge from $5,000 to over $30,000 per year depending on the institution. International students may face different rules and higher fees. Term start dates vary slightly by state but usually begin in late January or early February.
School Enrollment Steps After Relocation
Public school access is based on your new home address—move fast after signing a lease.
- Confirm your child’s eligibility based on visa status.
- Use a school zone map to find your nearest public school.
- Visit the school’s website or call for enrollment forms.
- Prepare documents: passport, visa, birth certificate, immunization records.
- Submit the application and proof of address.
- Schedule a school tour and student interview if required.
- Purchase uniforms and supplies before the term begins.
How Do You Use Public Transport Across Different States?
Australia’s public transport isn’t always intuitive, but it works well once set up. It’s recommended to learn how to pay and which transit pass to use during your first 30 days in Australia. In Sydney, you’ll use an Opal card; in Melbourne, it’s Myki; Brisbane uses the Go Card. You can buy and top up these cards at convenience stores, stations, or online. A typical weekly transport budget ranges from $30 to $60, depending on the city and your usage.
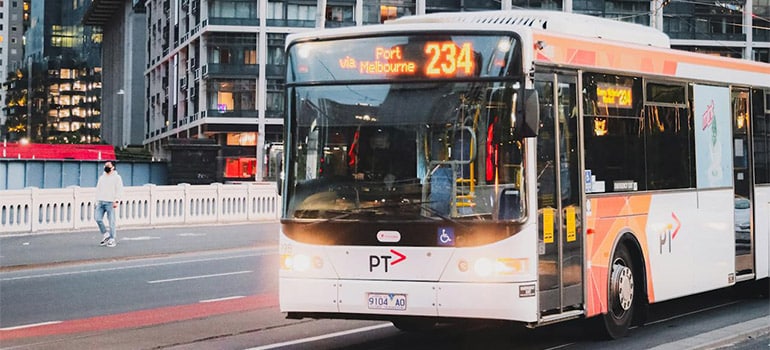
Kids, students, and older people often get concessions. Most cities now accept contactless bank cards for single fares, but weekly caps and discounts usually apply only when using a transit card. Apps like Moovit and TripView help plan trips and avoid delays. Always tap on and off to avoid fines.
Getting Set Up with Public Transit in Your Area
Every state uses a different fare card. Get one early and avoid fines.
- Identify your local system: Opal (NSW), Myki (VIC), Go Card (QLD), etc.
- Buy the card from a convenience store, station, or online.
- Register the card online for balance protection.
- Load funds—$20 to $50 to start is typical.
- Tap on and off every ride to avoid penalties.
- Learn peak/off-peak rates and weekly caps.
- Use apps for real-time tracking and fare calculators.
Where Can You Find Medical Help After You Arrive?
Knowing where to go for health issues gives peace of mind during your first 30 days in Australia. International movers often advise clients to locate nearby clinics before they’re sick. You don’t need to register with a GP like in the UK, but it helps to have one nearby. Use Healthdirect.gov.au to search by suburb. GP visits cost $70 to $100, but many clinics bulk bill if you have a Medicare card, meaning no out-of-pocket cost.
Pharmacies are everywhere and can provide over-the-counter medication or refer you to a doctor. Hospitals offer 24/7 emergency care, but only use them for serious issues—ambulance rides can cost $400 to $1,000 if you’re not insured. Booking appointments online via HotDoc or MyHealth1st makes things easier and helps avoid long waits.
Setting Up Healthcare Access Near Your Home
Knowing where to go saves time in an emergency and keeps your health on track.
- Use Healthdirect.gov.au to search for nearby GPs.
- Call or use HotDoc to book your first appointment.
- Ask if the clinic bulk bills to avoid surprise fees.
- Visit a pharmacy for OTC meds or minor concerns.
- Locate the nearest public hospital in your area.
- Ask your GP for referrals to specialists if needed.
- Save the 000 emergency number in your phone.
What Local Services and ID Do You Need to Register For?
In your first 30 days in Australia, certain ID documents make everything easier. Moving to Australia usually means converting your foreign driver’s licence within three months, depending on the state. Visit a service centre with your passport, licence, visa, and proof of address. Fees range from $40 to $100, depending on duration and vehicle class. You may need to pass a knowledge or driving test if your country isn’t recognized under Australia’s licensing agreement.
If you’re new to driving on the left side of the road, it’s important to prepare safely—check out our guide on How to Stay Safe With Left-Side Driving After Moving to Australia for practical tips.
A Proof of Age card is helpful if you don’t plan to drive—it works as a photo ID for bars and services. Public libraries offer free internet, printing, and community programs and often require a local ID and an address. Some states also have online portals for energy rebates, toll registration, and business setup, so get familiar early.
Essential IDs and Local Services to Prioritize
Australian systems expect proof of ID quickly. These documents make everything smoother.
- Apply for a driver’s licence within 3 months (state rules apply).
- Visit your state’s service centre with ID and address proof.
- Schedule a knowledge test if required (based on country of origin).
- Apply for a Proof of Age card if you won’t drive.
- Register for a library card at your local branch.
- Create a Service NSW/VIC/QLD online account for government access.
- Set up toll accounts and apply for any rebates available.
How Can You Meet People and Build a Local Network?
Relocating can be isolating if you don’t make connections fast. International movers often hear that people feel alone despite moving to a lively country. Meetup.com offers events for expats, hikers, business owners, and hobbyists in most major cities. Facebook groups help with everything from renting advice to social hangouts. Councils run free language classes, job search help, and local tours. Community centres often host weekend markets, fitness classes, and food drives.
Volunteering is a great way to meet people and add Australian experience to your resume. Faith-based groups, sports leagues, and local clubs also welcome newcomers. Isolation hits harder after the move is complete, so making these efforts in the first 30 days in Australia helps prevent burnout, especially for solo movers or families with young kids.

Steps to Connect with Locals and Expats
Building relationships fast improves your mental health and helps with local advice.
- Search Meetup.com for expat and hobby groups.
- Join Facebook groups related to your new city or visa type.
- Visit your council’s website for free events and programs.
- Volunteer at food banks, community centres, or animal shelters.
- Enroll in weekend classes (fitness, art, tech) through local rec centres.
- Attend community markets and introduce yourself to vendors.
- Exchange contacts with neighbours and coworkers.
Final Tips For Your First 30 Days In Australia
Use your first 30 days in Australia to lock in the essentials—TFN, bank account, SIM card, Medicare, and housing. Handle them fast so you don’t waste time or money. Get a transit card for your city, register for any local ID, and make sure kids are enrolled in school early if needed. Know where the closest GP and hospital are. Join a few local groups right away to avoid isolation. Keep all your documents in one folder. Track every expense. Use apps to manage utilities, transport, and banking. These aren’t optional tasks—they’re the foundation of a stable, successful life in Australia.